Selecting Your Fabric
Choosing the right fabric is the starting point of how to make a throw pillow. Whether you aim for a soft and cozy feel or a smooth and cool touch, the material determines the comfort and look of your pillow. Cotton is popular for its breathability, while velvet adds a touch of luxury. Consider functionality as well; a durable linen suits frequent use, and outdoor fabric withstands the elements.
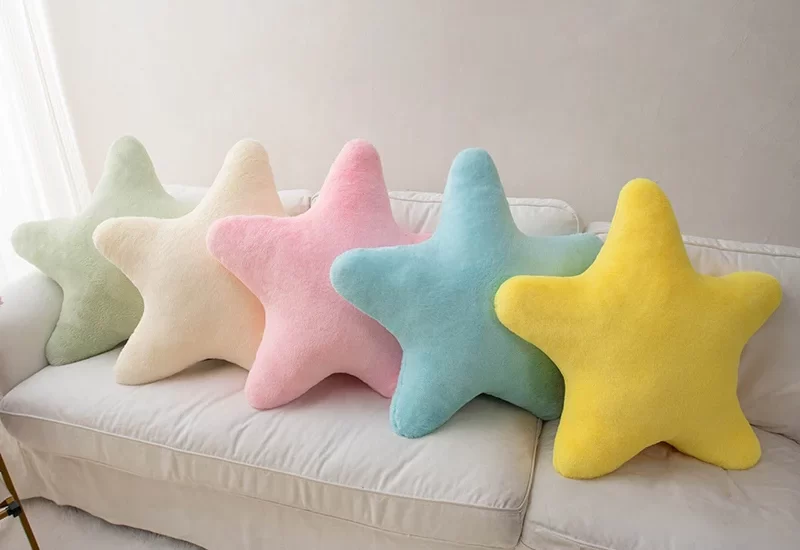
Choosing the Right Material for Your Design
When selecting fabric, think about your design goals. Do you want a bold pattern to make a statement, or a subdued color for a calming effect? Patterns can add character, but remember, they must align at the seams. Solids may be more forgiving for beginners. Also, check the fabric’s care instructions to ensure it fits your lifestyle.
Considering Size and Shape for Your Pillow
Size matters when it comes to throw pillows. Too large, and it might overwhelm your furniture; too small, and it could go unnoticed. Standard square pillows usually start at 16 inches by 16 inches. For a customized fit, measure your couch or chair. Don’t forget about shape! While squares and rectangles are common, consider trying an unconventional form like a circle or an oval for visual interest.
Cutting the Fabric
Cutting fabric is a crucial step in how to make a throw pillow. Start with clean, flat fabric. Lay it out on your work surface, removing any wrinkles or folds. It’s essential to get this right to ensure your pillow looks professional in the end.
Measuring and Cutting for Pillow Sizes
First, decide on the size of your pillow. Standard throw pillow sizes range from 16×16 to 24×24 inches. For a plump pillow, add an inch to each side for seam allowance. Measure twice, cut once to avoid mistakes. Use sharp scissors for clean edges or a rotary cutter for precision.
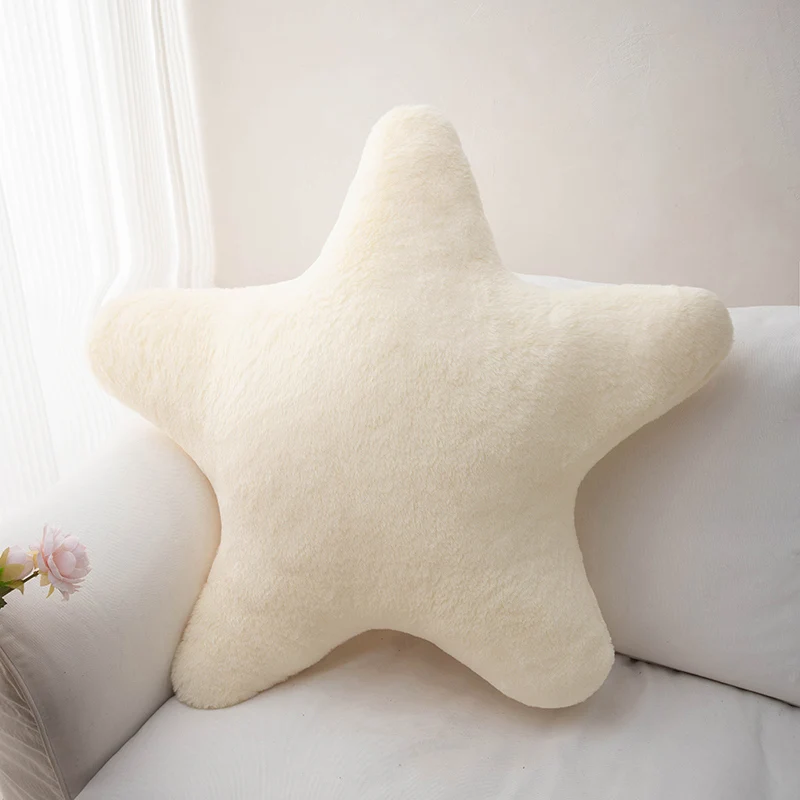
Shaping Beyond the Basics: Not Just Squares
Who says pillows have to be square? Get creative with shapes like circles, triangles, or even a heart. When cutting non-square shapes, make a paper template first. This ensures symmetry and consistency, especially if you’re making more than one. Always remember, the cooler the shape, the trickier the sewing might be. But don’t let that stop you from being bold in your design choices!
Adding Trim and Decorations (Optional)
Adding trim or decorations to your throw pillow is a fun way to personalize it. This step is optional, but it can give your pillow unique flair and texture. Consider the style of your room and the look you want to achieve when choosing trim.
Selecting Suitable Trim for Your Pillow
Start by choosing trim that complements your fabric. Options include tassels, pom-poms, lace, or rickrack. Think about the color and texture of your pillow cover. Aim for a contrast that pops or a subtle addition that blends in. The trim should also be easy to attach and durable.
Attaching Trim Before Sewing
To attach trim, measure the perimeter of your fabric pieces. Add a few extra inches to the length for a neat finish. Pin the trim to the right side of one fabric piece, aligning it with the edges. If your trim has a woven band, place it so that the decorative part faces inward. Then, pin the other fabric piece on top, right sides together, sandwiching the trim. Now, you’re ready to sew your pieces together.
Sewing the Pieces Together
Once you’ve selected your fabric, cut your pieces and added any trim, it’s time to sew everything together.
Pinning Techniques for a Secure Hold
Pinning is a critical step in sewing your throw pillow. It keeps the fabric stable and ensures accurate sewing. Here’s how to do it:
- Lay one fabric piece flat, right side up.
- Place the second piece on top, right side down.
- Line up the edges carefully.
- Start pinning from one corner, and work your way around.
- Space your pins evenly, about 2-3 inches apart.
- If you added trim, pay extra attention to the edges. Make sure the trim is caught between the layers.
Sewing with or without Trim
After pinning, you’ll sew the fabric together. Follow these steps:
- If you have trim, sew just inside the woven band edge.
- Without trim, sew with a 1/2 inch seam allowance.
- Use a sewing machine for a strong seam. Choose a straight or zigzag stitch.
- Hand-sewing is an option, but might not be as durable.
- Remember to leave an opening for stuffing. Usually, half of one edge works well.
- Backstitch at the beginning and end to secure your stitching.
Take your time to sew carefully and check your work as you go. Whether your design has trim or not, a secure stitch will make sure your pillow holds up well.
Stuffing Your Pillow
Now that your pillow is sewn, it’s time to choose stuffing material.
Choosing the Right Stuffing Material
Selecting stuffing that feels comfy and keeps shape is key. Options include:
- Polyester fiberfill, for a soft and durable choice.
- Foam inserts, offering firm support and shape.
- Down or feathers, for a luxurious, soft feel.
- Cotton batting, a natural, breathable option.
Pick stuffing to match your comfort and style. If allergies are a concern, go for hypoallergenic materials.
Properly Filling Your Pillow for Comfort
Filling your pillow well makes all the difference. Here’s how to do it right:
- Begin with less stuffing, then add more as needed.
- Push stuffing to corners for an even look.
- Don’t overstuff, it can make the pillow hard.
- Close the opening securely so stuffing stays in.
Aim for a full, comfy pillow that still keeps its form. Now, you’ve got a comfy and stylish throw pillow!
Finishing Touches
After stuffing your pillow to the perfect plumpness, it’s time for the finishing touches. You’ll need to seal the opening to complete your throw pillow. This last step is crucial as it ensures all your hard work doesn’t spill out.
Hand-Sewing the Final Seam
To close up your pillow, you need to hand-sew the gap where you filled it with stuffing. Choose a thread that matches your fabric. Tuck in the raw edges and use a ladder stitch or an invisible stitch to sew the seam shut. This type of stitch hides the thread and keeps your pillow looking neat.
Sewing Your Throw Pillow: The Step-by-Step Process
Preparing Your Fabric
Before sewing, it’s important to prepare your fabric. Start by washing and drying your fabric to pre-shrink it. This step prevents your pillow from changing shape after washing later. Once dry, iron the fabric to remove any wrinkles. A smooth surface makes sewing much easier.
Pinning the Fabric
Lay your two fabric squares on top of each other, right sides facing in. This means the patterned side of the fabric should be touching itself. Pin or clip the edges together to hold them in place. Space the pins about 4 inches apart to keep the fabric secure while you sew. Make sure to leave one side open for inserting the pillow form.
Sewing the Edges
Set your sewing machine to a straight stitch. Start sewing along the edges of the fabric squares, leaving a ½-inch seam allowance. Begin at one corner and sew all the way around, stopping before you reach the pinned section. Backstitch at the beginning and end to secure your stitches.
If you want to add a decorative touch, consider using a zigzag stitch along the edges. This technique helps prevent fraying and adds a unique detail to your pillow.
Turning the Pillow Right Side Out
After sewing, carefully cut the corners of the fabric, being careful not to cut through the stitches. This step helps the corners look sharp when you turn the pillow right side out. Next, reach into the opening and gently pull the fabric through. Smooth out the corners and edges as you go.
Stuffing Your Pillow: How to Add the Insert
Choosing Your Pillow Insert
Now that your pillow cover is ready, it’s time to choose your insert. If you bought a pillow insert, ensure it fits snugly inside your cover. If you’re recycling an old pillow, make sure it’s clean and in good condition. An insert that is too small will result in a floppy pillow, while one that is too large may cause stress on the seams.
Inserting the Pillow Form
Gently push the pillow insert into the cover through the opening. Use your hands to adjust the fill, ensuring it reaches all corners. When it looks full and fluffy, it’s time to close the opening.
Closing the Opening
To finish your pillow, you have a couple of options for closing the opening. You can hand-stitch it closed using a slip stitch, which makes the seam nearly invisible. Alternatively, you can use your sewing machine to sew a straight stitch. If you choose the machine method, be careful to align the edges evenly.
Adding Final Touches: Personalizing Your Pillow
Decorative Elements
Now that your pillow is complete, think about adding decorative elements. You can sew on buttons, fabric flowers, or even patches to give your pillow a unique flair. If you want to get creative, consider adding embroidery or fabric paint to personalize it even further.
Mixing Fabrics and Textures
For an eclectic look, consider making a pillow with mixed fabrics. Combine different textures, such as a smooth cotton front with a fuzzy fleece back. This approach creates visual interest and invites tactile exploration.
Caring for Your Pillow
Finally, don’t forget to care for your new throw pillow. Depending on the fabric type, you may want to spot clean or machine wash it. Always check the care label on your fabric for specific instructions. Regular cleaning keeps your pillow looking fresh and extends its life.
Fluffing and Enjoying Your New Pillow
Once the seam is sealed, give your pillow a good fluff. This distributes the stuffing evenly and helps the pillow maintain its shape. Adjust the corners by gently pulling the fabric to ensure a perfect square or whatever shape you’ve chosen. Tap the sides and smooth out any lumps with your hands. Now, place your new throw pillow on your favorite spot and enjoy the added comfort and style it brings to your room. You’ve mastered ‘how to make a throw pillow,’ and your creation is ready to impress!