Introduction to Pillow Case Crafting
Pillow case crafting is an ideal starting point. How to make pillow cases? Simple, straight lines define this beginner-friendly endeavor, offering immediate satisfaction upon completion. Whether you’re a seasoned sewer or just unpacking your first sewing machine, creating a custom pillow case can be both a delightful and rewarding experience.
The beauty of making your own pillow cases lies in the customization possibilities. Select fabrics that speak to your personal style or match your decor. Embark on this crafting journey, and you’ll soon see how a piece of fabric transforms into a cozy resting place for your head. Let’s get started on your path to crafting a unique and comfortable space, one stitch at a time.
Through this guide, we’ll provide you with clear steps and handy tips to make your pillow case project a breeze. Gather your materials and prepare to enjoy the process of crafting something that is uniquely yours. Ready to create a personalized sleeping sanctuary? Let’s sew forth!
Essential Materials for Making a Pillow Case
Before you start the delightful journey of making your own pillow case, ensure you have all the necessary materials. Here’s what you will need:
- Fabric: The star of the show. For a standard pillowcase, you’ll need about 1 yard of your main fabric. If using a directional print or if you want a contrasting cuff, then an additional 1/2 yard of the coordinating fabric may be required.
- Measuring tools: A reliable ruler or a measuring tape is crucial to get the right dimensions. A rotary cutter alongside a cutting mat can also be handy for precision cuts. If these tools are new to you, remember measuring twice cuts down on mistakes.
- Scissors: These need to be sharp enough to give you a clean cut through the fabric. If you prefer, a rotary cutter is a good alternative too.
- Straight pins: These little helpers will keep your fabric aligned as you sew, so make sure to have them on hand.
- Sewing machine: The tool that brings it all together. Make sure it’s threaded with a color that either matches or complements your fabric. If you’re wondering about the type of needle or thread for your fabric, quick online guides are available to help.
- Thread: Choose a color that either blends in with your fabric or stands out, if you prefer a contrasting look. Ensure the thread is of good quality to avoid frustration with breakage.
- Iron and ironing board: Pressing your fabric before and after sewing will give your pillowcase a crisp, professional finish.
Gathering these materials is the first step in your crafting process. Selecting the right quality and tools not only eases the sewing process but also contributes significantly to the final outcome of your project. Now that you have everything you need, you’re ready to begin crafting your custom pillowcase with confidence and creativity.
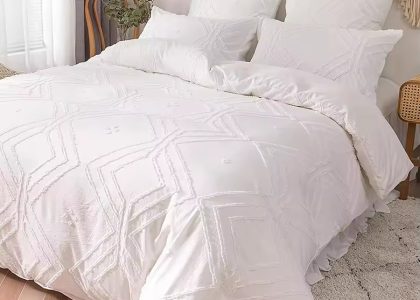
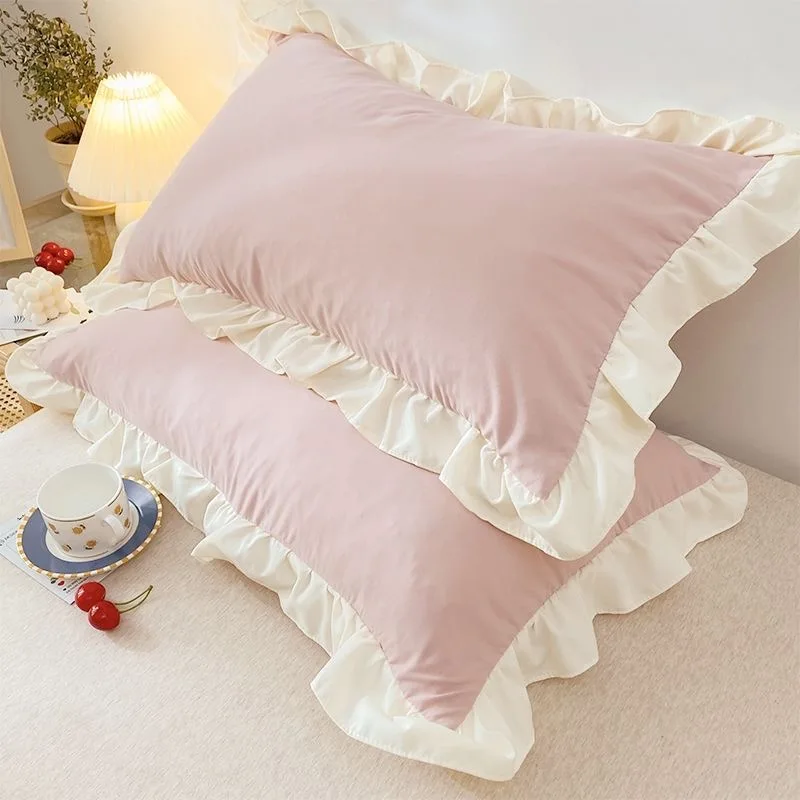
Selecting the Perfect Fabric
Choosing the right fabric for your pillowcase is crucial in determining both the style and comfort of your creation. First, consider the fabric type. Quilting cotton is a popular choice for beginners due to its wide range of designs, easy availability, and simple handling. If you’re looking for something softer or with a different texture, options like flannel, satin, or even silk might be more to your liking.
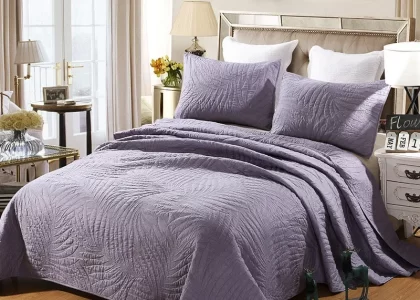
When selecting your fabric, also think about the pattern. If your decor is more on the minimalist side, a solid color or subtle print could blend in beautifully. For a statement piece, bold patterns or vibrant colors can add a splash of personality to any room. Remember to keep in mind the size of the design, especially if you are working with patterned or directional prints, as this will impact the amount of fabric you need.
Regarding print direction, for non-directional prints, a standard yard of fabric will suffice. If your fabric has a directional pattern, a pattern that must face a certain way, consider purchasing a bit more — about 1 1/2 yards — to ensure proper alignment. It’s better to have a little extra fabric than to come up short and disrupt the design’s flow.
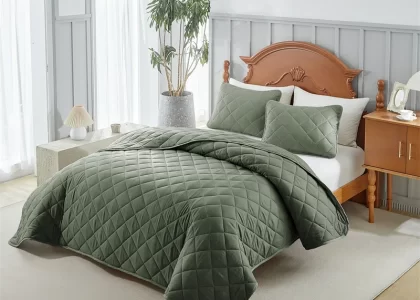
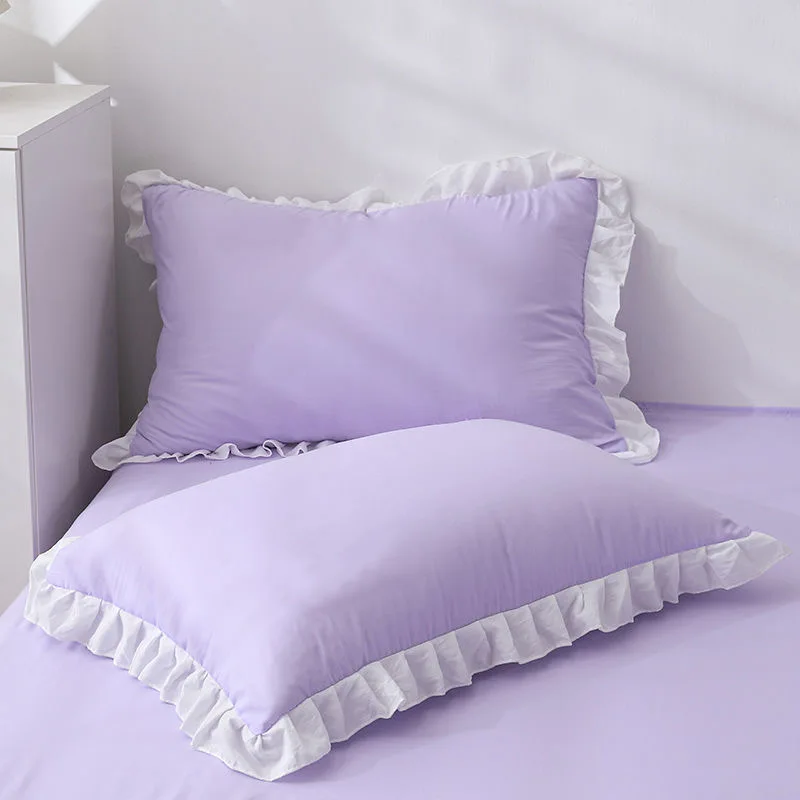
Finally, think about who the pillowcase is for. If it’s for children, bright colors and fun prints could be appealing, whereas a more neutral palette might be ideal for a guest room. Fabric choice can transform a simple pillowcase into a personalized gift or stylish home accessory. With your fabric selected, you’re well on your way to making a unique, hand-crafted pillow case.
Cutting the Fabric: A Step-by-Step Guide
Cutting fabric correctly sets the stage for your pillowcase project. Here’s how to cut your fabric step by step:
- Measure accurately: Start by measuring the dimensions needed for your pillowcase using your measuring tape or ruler.
- Mark it out: Use a fabric marking pen or tailor’s chalk to outline where you will cut.
- Choose the right tools: For straight lines and precise cuts, use scissors or a rotary cutter with a cutting mat.
- Cut main fabric: For a standard pillow case, cut a piece 27 inches wide by 40 inches long. This allows for seams and a cuff fold.
- Cut accent fabric: If you’re adding a contrasting cuff, cut a piece 9 inches wide by 27 inches long.
- Check your prints: If you’re using directional prints, make sure the pattern is oriented the way you want it on the finished pillowcase.
- Stay straight: Keep cuts clean and straight along the marked lines for a neat finished product.
Remember, accuracy is key in cutting to ensure that the pillowcase comes together correctly in later steps.
The Sewing Process Explained
Sewing your custom pillow case is straightforward with these steps. Begin by laying out your cut pieces of fabric. If they’re wrinkled, use an iron to smooth them out first. Place the main and accent fabric pieces right sides together. Make sure the edges meet evenly.
Pin along the matched edges to keep the fabric from shifting. When pinning, insert the pins perpendicular to the edge. This makes it easier to remove them as you sew.
Thread your sewing machine with a color that complements your fabric. Choose a straight stitch setting on your machine. If you’re unsure about the tension or stitch length, test on a scrap piece first.
Start sewing along the pinned edge with a consistent seam allowance. A common seam allowance is about half an inch. Sew slowly and remove the pins just before they reach the presser foot.
After attaching the main and accent pieces, press the seam open with your iron. This will create a flat and smooth transition between fabrics. Next, fold the pillow case with the right sides facing each other.
Pin the side and bottom edges to prepare for the final seams. Again, make sure all edges align properly for a neat finish.
Sew along the pinned edges, removing pins as you go. Backstitch at the beginning and end of your seams to secure them. Once done, turn the pillow case right side out. You should have a neat pillow case with the right fabric sides on the exterior.
For a clean look, press the seams again. This step is crucial for a professional finish. Now, your custom pillow case is ready for a fluffy pillow.
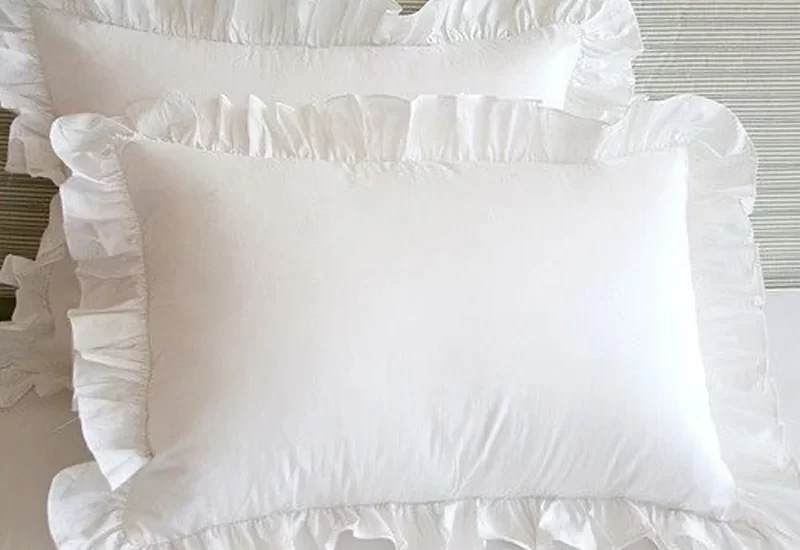
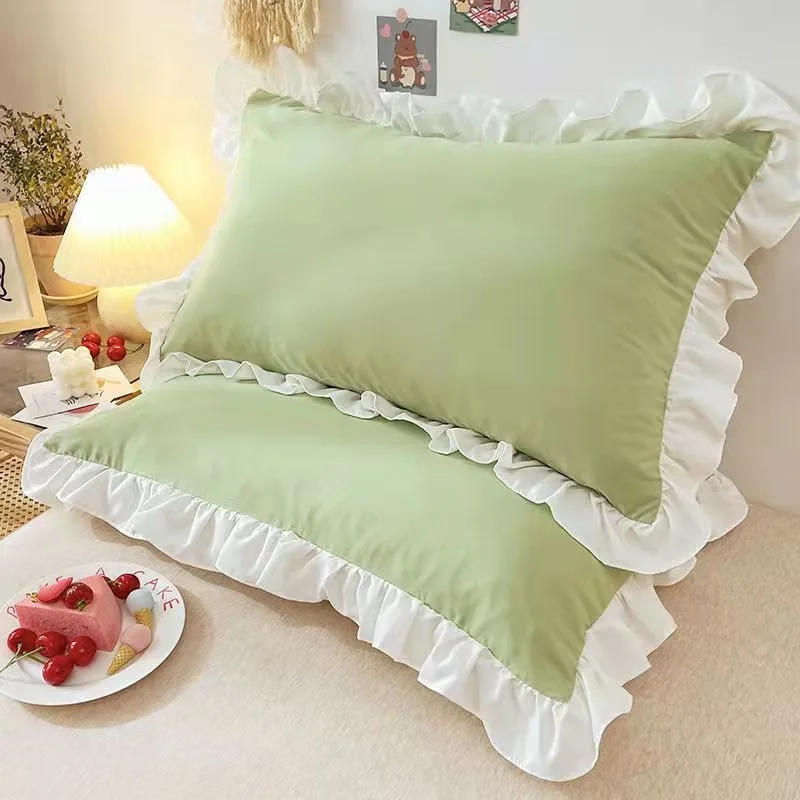
Adding Contrast: Accent Fabric Tips
When crafting your pillow case, consider adding a contrasting fabric for visual appeal. This accent fabric can either highlight the main fabric or serve as an eye-catching feature on its own. Here’s how to choose and use accent fabrics effectively:
- Select a Complementary Color: Pick an accent color that complements your main fabric. Think about color theory and choose shades that work well together.
- Consider the Width: For a standard pillow case, a contrasting cuff is typically around 9 inches wide. Adjust measurements as needed for different pillow sizes.
- Pattern Play: If using patterned fabrics, ensure the accent pattern doesn’t clash with the main fabric. Stripes, solids, or small prints often work well as accents.
- Pre-Wash Fabrics: Wash both your main and accent fabrics before sewing if they are different types. This step prevents uneven shrinkage later.
- Cutting Precision is Key: When cutting the accent fabric, use the same diligence as with the main fabric. Ensure all edges are straight and even.
- Sewing the Cuff: Align the cuff fabric to the main fabric, right sides together. Sew with a consistent seam allowance for a polished look.
- Press for Success: After adding the accent fabric, press the seam. This creates a crisp edge where the main fabric meets the cuff.
By following these tips, your accent fabric will add the perfect amount of contrast to your pillow case and elevate its overall look. Happy sewing!
Achieving Professional Seams and Hems
For a finely finished pillowcase, neat seams and hems are key. Follow these tips for professional results:
- Press Seams: Always iron seams flat before finishing. This helps create clean lines.
- Seam Allowances: Stick to a half-inch seam allowance for consistency and easier sewing.
- Backstitching: Begin and end your seams with backstitches to prevent unravelling.
- Corner Cuts: Trim the fabric at the corners. This reduces bulk for a sharper edge.
- French Seams: Hide raw edges with French seams, sewing the fabric inside out first, then right side out.
- Hemming: For the pillowcase opening, make a double fold hem. Press, pin, and stitch for a neat finish.
- Straight Stitching: Use a straight stitch for all your seams and hems. It’s sturdy and simple.
- Even Edges: Ensure all fabric edges line up perfectly before you start sewing.
- Test Scraps: Practice your stitching on fabric scraps. This helps you get comfortable with your sewing machine.
By paying attention to these details, you’ll achieve the polished look of store-bought pillowcases, with the added bonus of homemade charm.
Finishing Touches and Care Instructions
After sewing your pillow case, a few finishing touches will perfect your project. First, trim any loose threads. This tidies up your work and prevents fraying. Then, turn the pillow case right side out and use your iron to press it flat. This will sharpen your edges and corners, making them look crisp and clean.
Next, add a personal touch. Consider decorative topstitching, embroidery, or adding fabric appliques to elevate your pillow case’s look. Each detail reflects your style and the care you’ve put into your work.
Now for the care instructions. Wash your pillow cases on a gentle cycle with cool water. Use a mild detergent and avoid harsh chemicals, which could damage the fabric. If you’re using cotton, a warm iron can remove any wrinkles. Always wash bright colors separately at first, as they might bleed.
Air dry your pillow cases to preserve their form and prevent shrinking. If you must use a dryer, opt for a low heat setting. Remove pillow cases from the dryer promptly to avoid deep wrinkles. If you’ve chosen delicate fabrics like silk or satin, hand washing and air drying are best.
Following these tips will help maintain your pillow cases looking fresh and lovely. Plus, they’ll last longer, wrapping you in comfort night after night. Enjoy the fruits of your labor and the beauty it adds to your home.