Choosing the Right Materials for Your Pillow Project
Choosing the right materials is crucial for a successful sewing project. When you plan to sew a zipper on a pillow, the materials you select impact the final look and durability of your pillow cover. How to sew a zipper on a pillow?
Selecting the Perfect Fabric
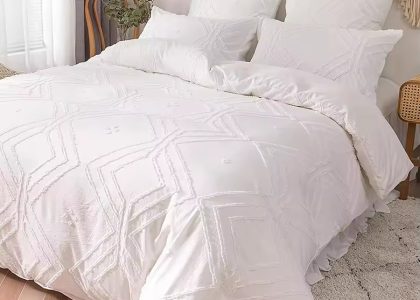
For your pillow, opt for medium to heavy weight woven fabrics. Good choices include cotton, linen, velvet, and canvas. Avoid knits, as they can stretch unevenly. If using lighter fabrics like some quilting cottons, consider lining them for extra stability. Upcycling old sheets or curtains is also a great option to personalize your project.
Picking a Compatible Invisible Zipper
An invisible zipper will give your pillow a sleek, professional finish. Pick a zipper closest in color to your fabric to keep it discreet. Ensure the zipper is as long as or slightly longer than one side of your pillow for ease of insertion. It’s okay if it’s too long; you can trim it down to fit. If you have a variety of pillow sizes, consider buying longer zippers in bulk and cut them as needed. Always test the zipper function before finalizing your pillow cover to maintain quality.
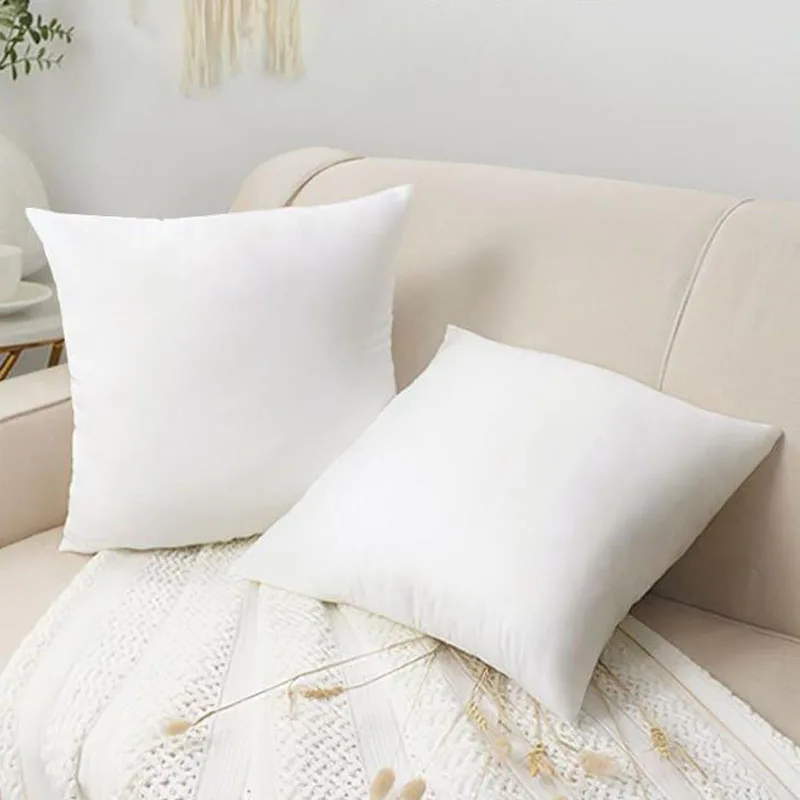
Preparing the Pillow Form
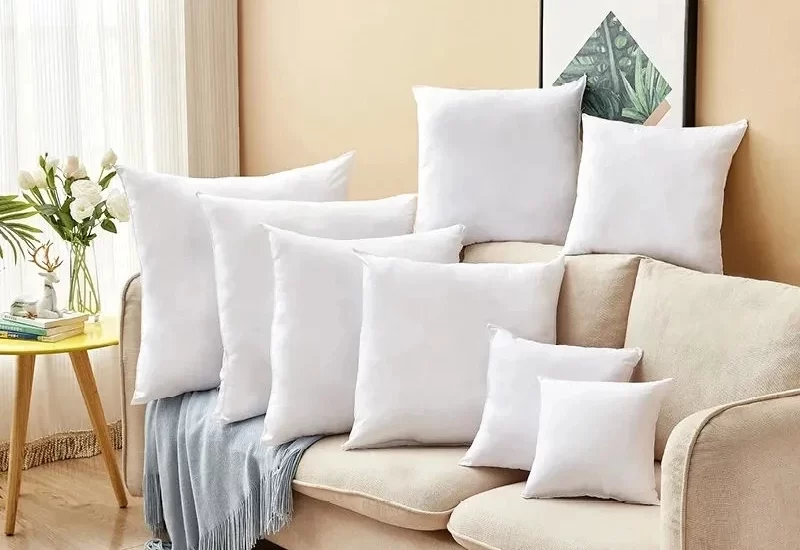
How to sew a zipper on a pillow? Choosing the right pillow form is key for a comfy and attractive pillow. The form provides structure and comfort. It’s essential to match the pillow cover size to the pillow form for the best fit.
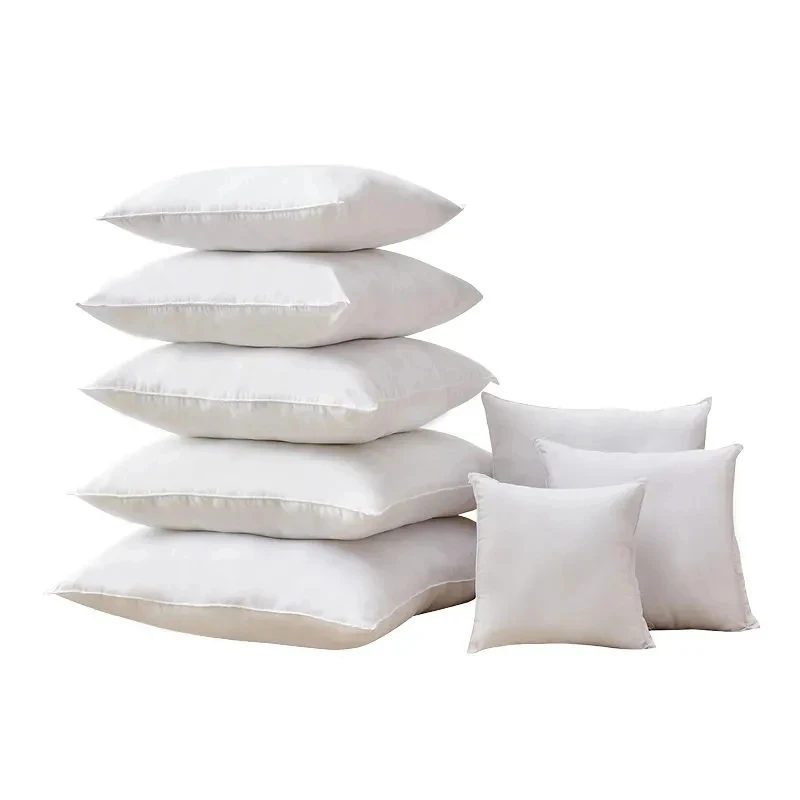
Deciding on Pillow Size: Fitting the Cover to the Form
For a full, snug pillow, make the cover slightly smaller than the form. For example, use a 19×19 inch cover for a 20×20 inch pillow form. This ensures the pillow looks plump and inviting. A cover that’s too large can make the pillow look deflated.
Upcycling Options for Eco-Friendly Crafting
Old pillows or bed pillows can become new forms. Ensure they are clean first. Pop them in a hot dryer for 30 minutes to kill any microbes. Then, cut to the desired dimension if needed. This is a great way to reuse materials and reduce waste. Upcycling also allows for customization of firmness and shape, tailoring it to personal preference.
Cutting and Prepping Your Fabric
Before diving into the sewing process, accurately cutting your fabric is fundamental. Good preparation sets the stage for a polished final product.
Creating Precise Patterns for a Professional Finish
To start, you’ll need a pattern. Patterns ensure consistency, especially if you plan to make multiple pillows. Use sturdy paper for your patterns, and mark clear guidelines. Measure twice; for a pillow requiring 18 inch squares, cut the patterns at 19×19 inches. The extra inch allows for a half-inch seam allowance around each side. Always remember: precision is key to a professional look.
Aligning and Cutting Fabric for Perfect Pattern Placement
Pay attention to fabric design. If the fabric has lines or patterns, align them carefully. Let’s say you’re using a striped fabric. Make sure the stripes on both sides of your pillow will match up. Place the pattern on the fabric, secure it with pins or weights, and cut carefully. Sharp scissors or rotary cutters are best for clean edges. Accurate cuts now prevent headaches later, especially when it’s time to match and sew the pieces together.
Installing the Invisible Zipper Step by Step
Finishing Fabric Edges Before Zipper Installation
Before you attach your zipper, finish the fabric edges. This will prevent fraying. Use a sewing machine to cleanly overcast the edges where you’ll sew the zipper.
Basting the Zipper for Easy Sewing
Baste your invisible zipper onto the fabric. Pin it first, then use a basting stitch. This temporary stitch holds the zipper in place, making it easier to sew later.
Attaching the Zipper With Precision
Now, attach your invisible zipper precisely. Use a zipper foot and sew close to the zipper teeth. Make sure to not sew on the teeth themselves. Remove basting stitches after you finish sewing the zipper.
Assembling Your Pillow Cover
After installing the invisible zipper, it’s time to put your pillow cover together.
Aligning and Sewing the Remaining Sides
Match the front and back fabric pieces with right sides together. Pin them to keep everything in place. Sew along the edges with a half-inch seam allowance. Leave the zipper part open. Go slowly to keep your lines straight and neat.
Perfecting the Corners for Sharp Results
Sharp corners give a finished look. Cut across the corners diagonally, but don’t snip your stitches. When you turn the cover right side out, use a pointed tool to push out the corners. Be gentle to avoid poking through the fabric.
Final Touches for a Professional Look
Once your pillow cover is assembled, final touches are key for that polished, professional appearance.
Giving Your Pillowcase a Quality Press
Pressing your pillowcase can significantly elevate its look. After turning the pillowcase right side out, align the seams and iron them flat. Use a medium-hot iron and proceed with care. Avoid direct heat on the zipper to prevent melting. A crisp pillowcase sans wrinkles speaks to your craftsmanship.
Tips for Maintaining the Integrity of the Zipper
To keep the zipper working smoothly, handle it gently. Avoid forcing it when opening or closing. If it sticks, gently wiggle the pull tab back and forth to loosen it. Trim any loose threads that could catch in the zipper’s teeth. When washing the pillow cover, close the zipper. This helps to maintain its shape and prevents snagging. Remember, a well-maintained zipper ensures your pillow cover remains functional and beautiful for longer.
Expanding Your Sewing Skills
Now that you know how to sew a zipper on a pillow, why stop there? Enhance your crafting repertoire with some unique pillow cover designs.
Additional Creative Pillow Cover Ideas
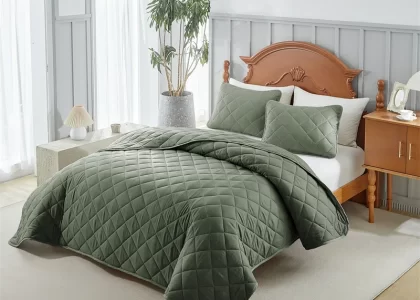
- Quilted Pillow Covers: Combine quilting with pillow making for a textured look.
- Patchwork Pillows: Mix and match fabric scraps for an eclectic style.
- Embroidered Pillows: Add a personal touch with hand or machine embroidery.
- Pillow Covers with Piping: Create defined edges and a pop of color with piping.
- Seasonal Themes: Sew pillow covers for holidays or seasons to refresh your decor.
- Kids’ Craft Pillows: Get children involved by making simple, fun pillow designs.
Using these ideas, you can transform any space with a fresh look.
Resources for Further Learning in Sewing and Craftsmanship
To improve your sewing skills, here are some helpful resources:
- Online Tutorials: Websites like YouTube have countless instructional videos.
- Sewing Blogs: Follow well-known blogs for tips and project ideas.
- Community Workshops: Join local classes for hands-on learning and advice.
- Sewing Books: Look for books with detailed instructions and patterns.
- Craft Forums: Engage with online communities to share experiences and get support.
By using these resources, you can learn new techniques and become a better crafter.
Conclusion
In conclusion, sewing a zipper onto a pillow is a rewarding task that enhances your sewing skills and your home decor. By following the steps outlined in this guide, you can create a functional and stylish pillow that can easily be refreshed or cleaned. Remember to gather your materials, take your time with measurements and cuts, and practice your sewing techniques.
As you become more comfortable with sewing zippers, consider expanding your skills to other projects that involve zippers, such as bags or clothing. The versatility of zippers in sewing is immense, making it a valuable skill for any sewist. Enjoy your sewing journey, and happy stitching!