How to make a throw pillow
Throw pillows are more than just decorative accents; they can transform a room, add a touch of personality, and even provide comfort. The best part? You don’t need to be a professional seamstress to create your own. With a little guidance and some basic sewing skills, you can craft personalized throw pillows that perfectly match your style and decor.
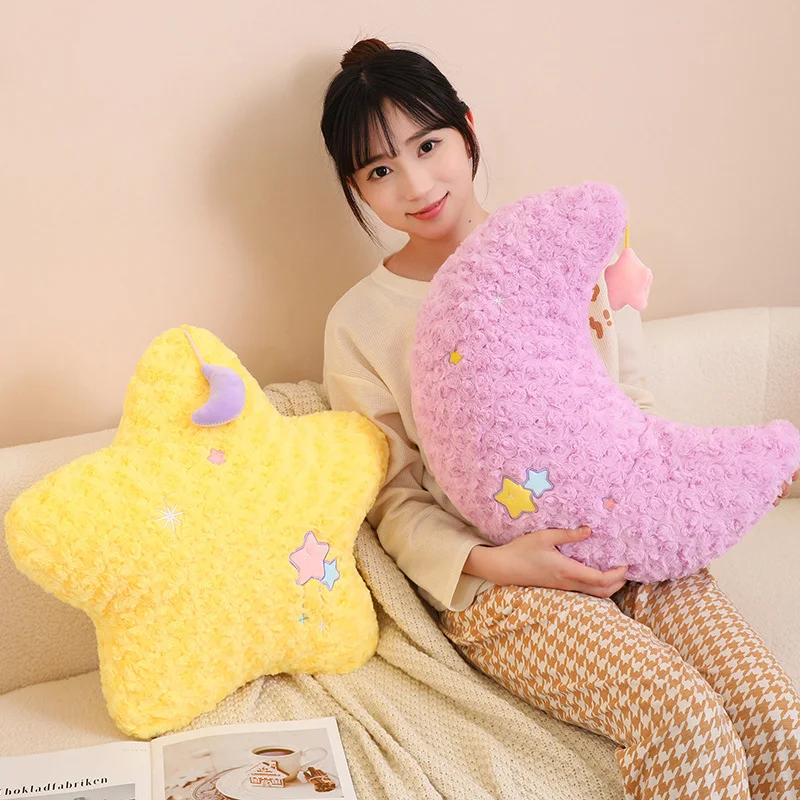 Gather Your Supplies: The Foundation of Pillow Perfection
Before you dive into the world of fabric and stuffing, make sure you have all the necessary tools and materials. Here’s a checklist:
Fabric:
The star of the show. Consider the desired size, pattern, texture, and feel of your pillow. Choose a fabric that is durable, easy to work with, and complements your existing decor.
- Cotton: A versatile and affordable option, available in a wide range of colors and prints.
- Linen: Known for its natural texture and durability. It can be slightly rougher than cotton, adding a rustic feel.
- Velvet: Adds luxurious elegance and a soft, plush touch.
- Wool: A warm and cozy choice, perfect for cold nights.
- Silk: A delicate and luxurious fabric, ideal for adding a touch of glamour.
Filling:
The heart of the pillow. Choose a filling that provides the desired level of support and comfort.
- Polyester fiberfill: A popular choice for its affordability, hypoallergenic properties, and ability to be washed.
- Down: Provides luxurious comfort and warmth, but can be more expensive and require specific care.
- Feather: Feather is a lighter and more breathable option than down.
- Buckwheat hulls: Known for their natural cooling and supportive properties.
Sewing Supplies:
The essential tools for bringing your pillow to life.
- Sewing machine: Simplifies the stitching process, especially for larger pillows.
- Scissors: Sharp scissors are crucial for precise cutting.
- Thread: Choose a color that matches or complements your fabric.
- Measuring tape: Ensures accurate measurements for a perfectly sized pillow.
- Pins: Secure the fabric layers together before sewing.
- Iron: Smooth out wrinkles and creases in the fabric.
- Zipper: A zipper closure allows for easy removal and washing of the pillow cover.
Optional Extras:
- Pillow form: A pre-made pillow insert that eliminates the need for stuffing.
- Fabric glue: Can be used to secure seams for extra durability.
- Sewing needle and thread: For hand-stitching intricate details or for small repairs.
- Rotary cutter and cutting mat: For precise and efficient fabric cutting.
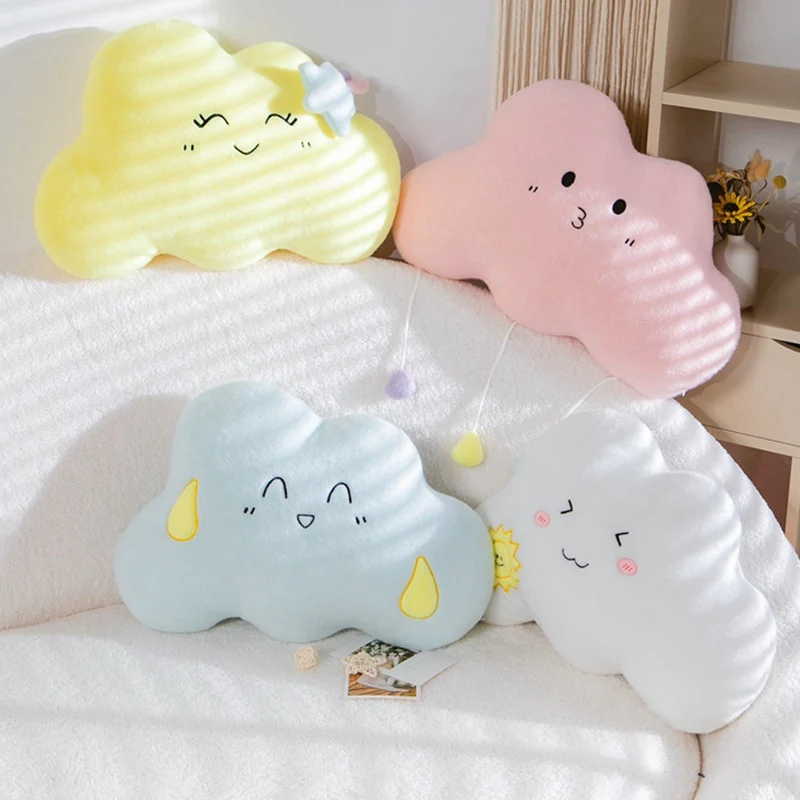 Choosing the Right Size and Shape
The size and shape of your throw pillow are crucial in achieving the desired look and feel. Consider the dimensions of your sofa, bed, or chairs, and choose a pillow that complements the scale of the furniture.
Standard Throw Pillow Sizes:
- 12″ x 18″: A classic and versatile size that works well on sofas, beds, and chairs.
- 16″ x 16″: A popular choice for square-shaped pillows, offering a balanced and symmetrical look.
- 18″ x 18″: A larger size that provides extra comfort and adds a bold statement.
- 20″ x 20″: Ideal for oversized throw pillows, creating a dramatic and luxurious feel.
Beyond the Standard:
- Lumbar Pillows: Narrow and elongated pillows, perfect for supporting your lower back on the sofa or bed.
- Bolster Pillows: Long and cylindrical pillows, often used for decorative purposes or as a headrest.
- Round Pillows: Add a whimsical and unique touch to your decor.
- Heart-Shaped Pillows: Perfect for Valentine’s Day or adding a romantic touch.
Pattern and Fabric Selection: The Art of Design
Now comes the fun part: choosing the pattern and fabric that best reflect your style and create a cohesive look within your space.
Pattern Options:
- Solid Colors: Offer a clean and modern aesthetic. Choose a color that complements your existing decor or adds a pop of contrast.
- Prints: Introduce patterns and visual interest. Experiment with floral, geometric, abstract, or ethnic designs.
- Textured Fabrics: Add visual and tactile interest. Consider weaves like linen, tweed, or velvet for a unique look and feel.
- Embroidered Designs: Add intricate details and create a personalized touch.
Fabric Considerations:
- Durability: Choose a fabric that can withstand frequent use and washing.
- Ease of Care: Consider the fabric’s care instructions to ensure it can be cleaned easily.
- Weight: Choose a fabric that feels comfortable and suitable for the intended use.
- Color Fastness: Ensure the fabric’s color won’t fade or bleed with washing.
- Luster: The shine or glossiness of the fabric can affect the overall look and feel of the pillow.
 Cutting and Sewing: Bringing Your Pillow to Life
How to make a throw pillow
With your fabric and filling chosen, it’s time to bring your pillow design to life. Follow these steps for a flawless finish:
1. Measure and Cut:
- Measure the desired dimensions of your pillow cover, adding seam allowances to each side (about ½ inch).
- Cut out two identical pieces of fabric based on your measurements.
2. Prepare the Zipper:
- Measure the length of the opening you want for the zipper. Cut the zipper to this length.
- Pin the zipper to one of the fabric pieces, along the desired opening line.
- Sew the zipper in place using your sewing machine.
3. Sew the Pillow Cover:
- Pin the two fabric pieces right sides together, aligning the edges.
- Sew along the perimeter of the fabric pieces, leaving an opening for turning the cover right side out.
- Backstitch at the beginning and end of each seam for added durability.
4. Turn and Stuff:
- Carefully turn the pillow cover right side out through the opening you left.
- Insert the filling material, adjusting the amount to achieve your desired firmness.
- Hand-stitch the opening closed.
5. Finishing Touches:
- Press the pillow cover to remove any wrinkles.
- Enjoy your handmade throw pillow!
 Beyond the Basics: Adding Personal Touches
How to make a throw pillow
Once you’ve mastered the basic throw pillow construction, you can explore various techniques to enhance your creations and make them truly unique.
Embroidery: Add intricate designs, monograms, or personalized messages using embroidery thread and needle.
Appliqués: Create eye-catching designs by attaching fabric shapes or embellishments to the pillow cover.
Patchwork: Combine different fabrics and patterns to create a patchwork design.
Quilting: Add texture and dimension by stitching layers of fabric together with a quilted pattern.
Fringe: Attach fringe to the edges of the pillow cover for a whimsical and bohemian touch.
Beading: Embellish the pillow cover with beads, sequins, or other decorative elements.
Maintaining Your Handmade Treasures
How to make a throw pillow
Taking care of your handmade throw pillows ensures they remain beautiful and comfortable for years to come. Follow these care tips:
- Spot Clean: For small spills or stains, use a damp cloth to gently blot the affected area.
- Wash Gently: Machine wash pillow covers in cold water on a gentle cycle.
- Air Dry: Avoid using a dryer, which can shrink or damage the fabric.
- Regular Fluffing: Periodically fluff the filling to maintain its shape and prevent clumping.
- Rotate Pillows: Flip and rotate your pillows regularly to ensure even wear and prevent sagging.
 Conclusion: Embracing the Joy of Handmade
Making your own throw pillows is a rewarding experience that allows you to express your creativity, personalize your home decor, and enjoy the satisfaction of creating something beautiful with your own hands. From choosing the perfect fabric to mastering the stitching process, every step of the journey is an opportunity to explore your artistic side and create unique pieces that reflect your individual style. So, gather your supplies, embrace the joy of crafting, and create throw pillows that will bring comfort, personality, and a touch of handmade charm to your home.

